Efficient wire probe inspection as an alternative to fitting and connection tests
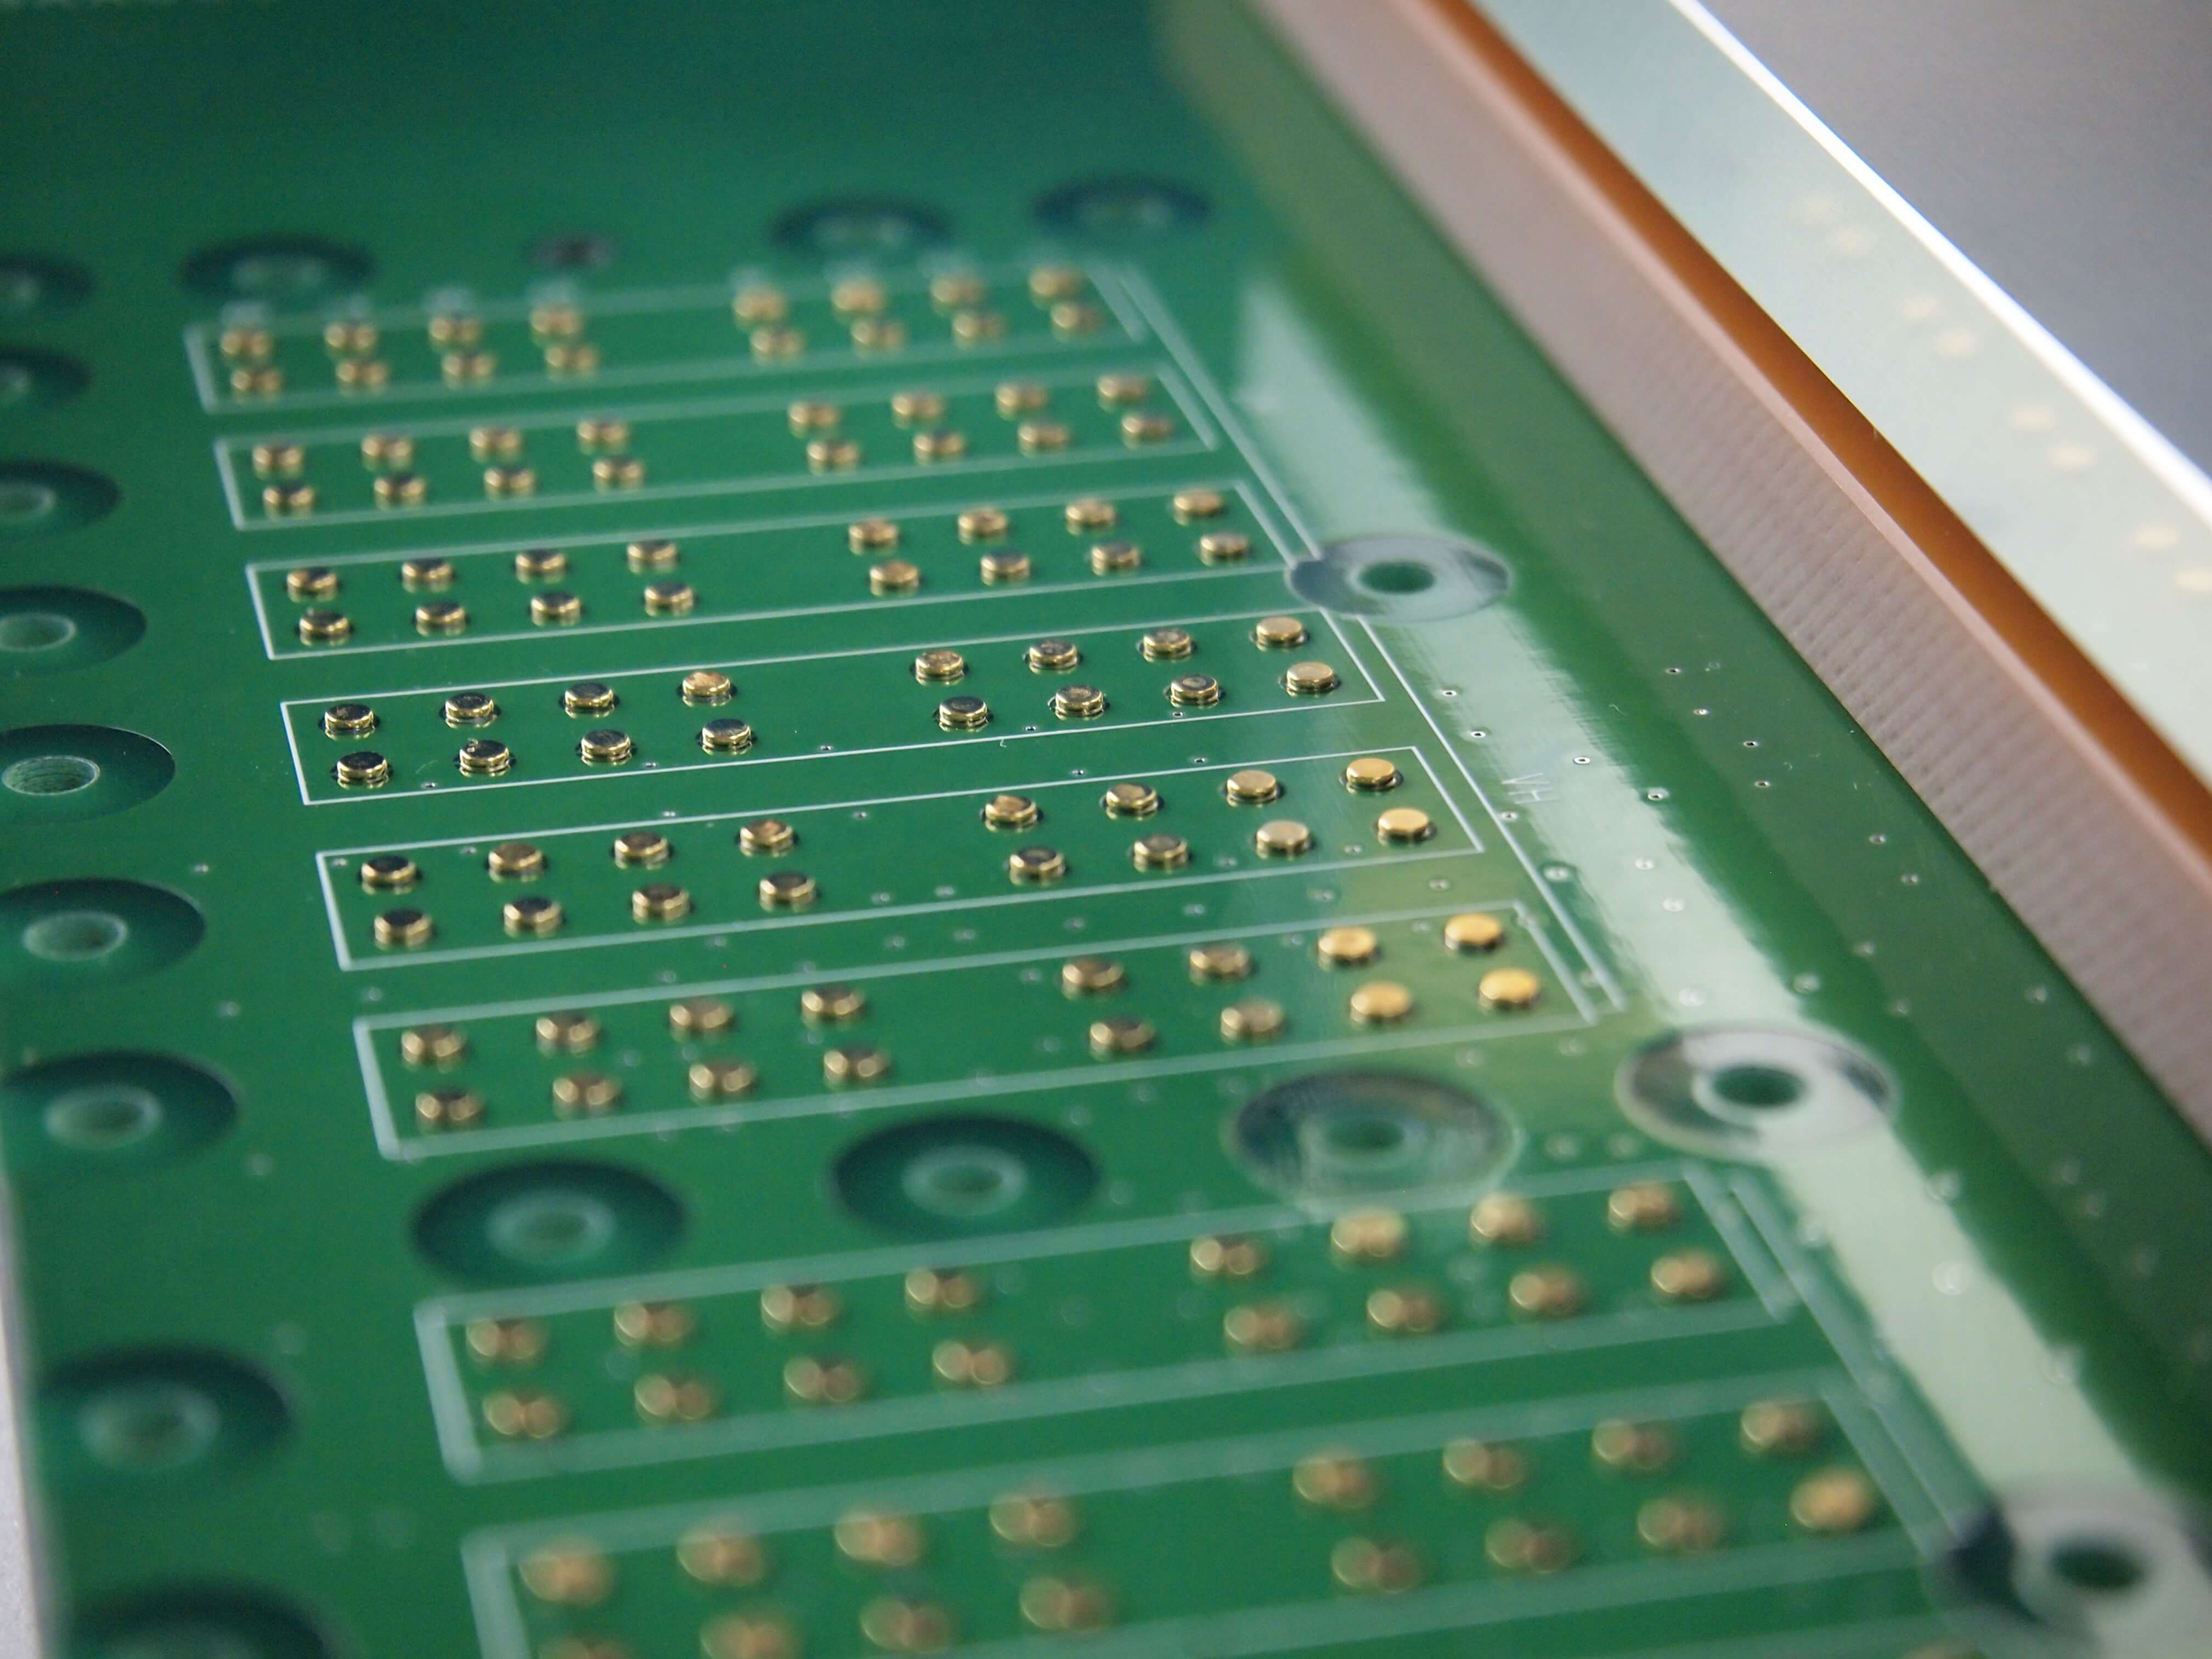
Wear occurs due to repeated insertion and removal during fitting and connection tests. However, wire probe inspection enables the wire probe to contact the internal terminals of the board-to-board connector, preventing wear and reducing damage to the product.


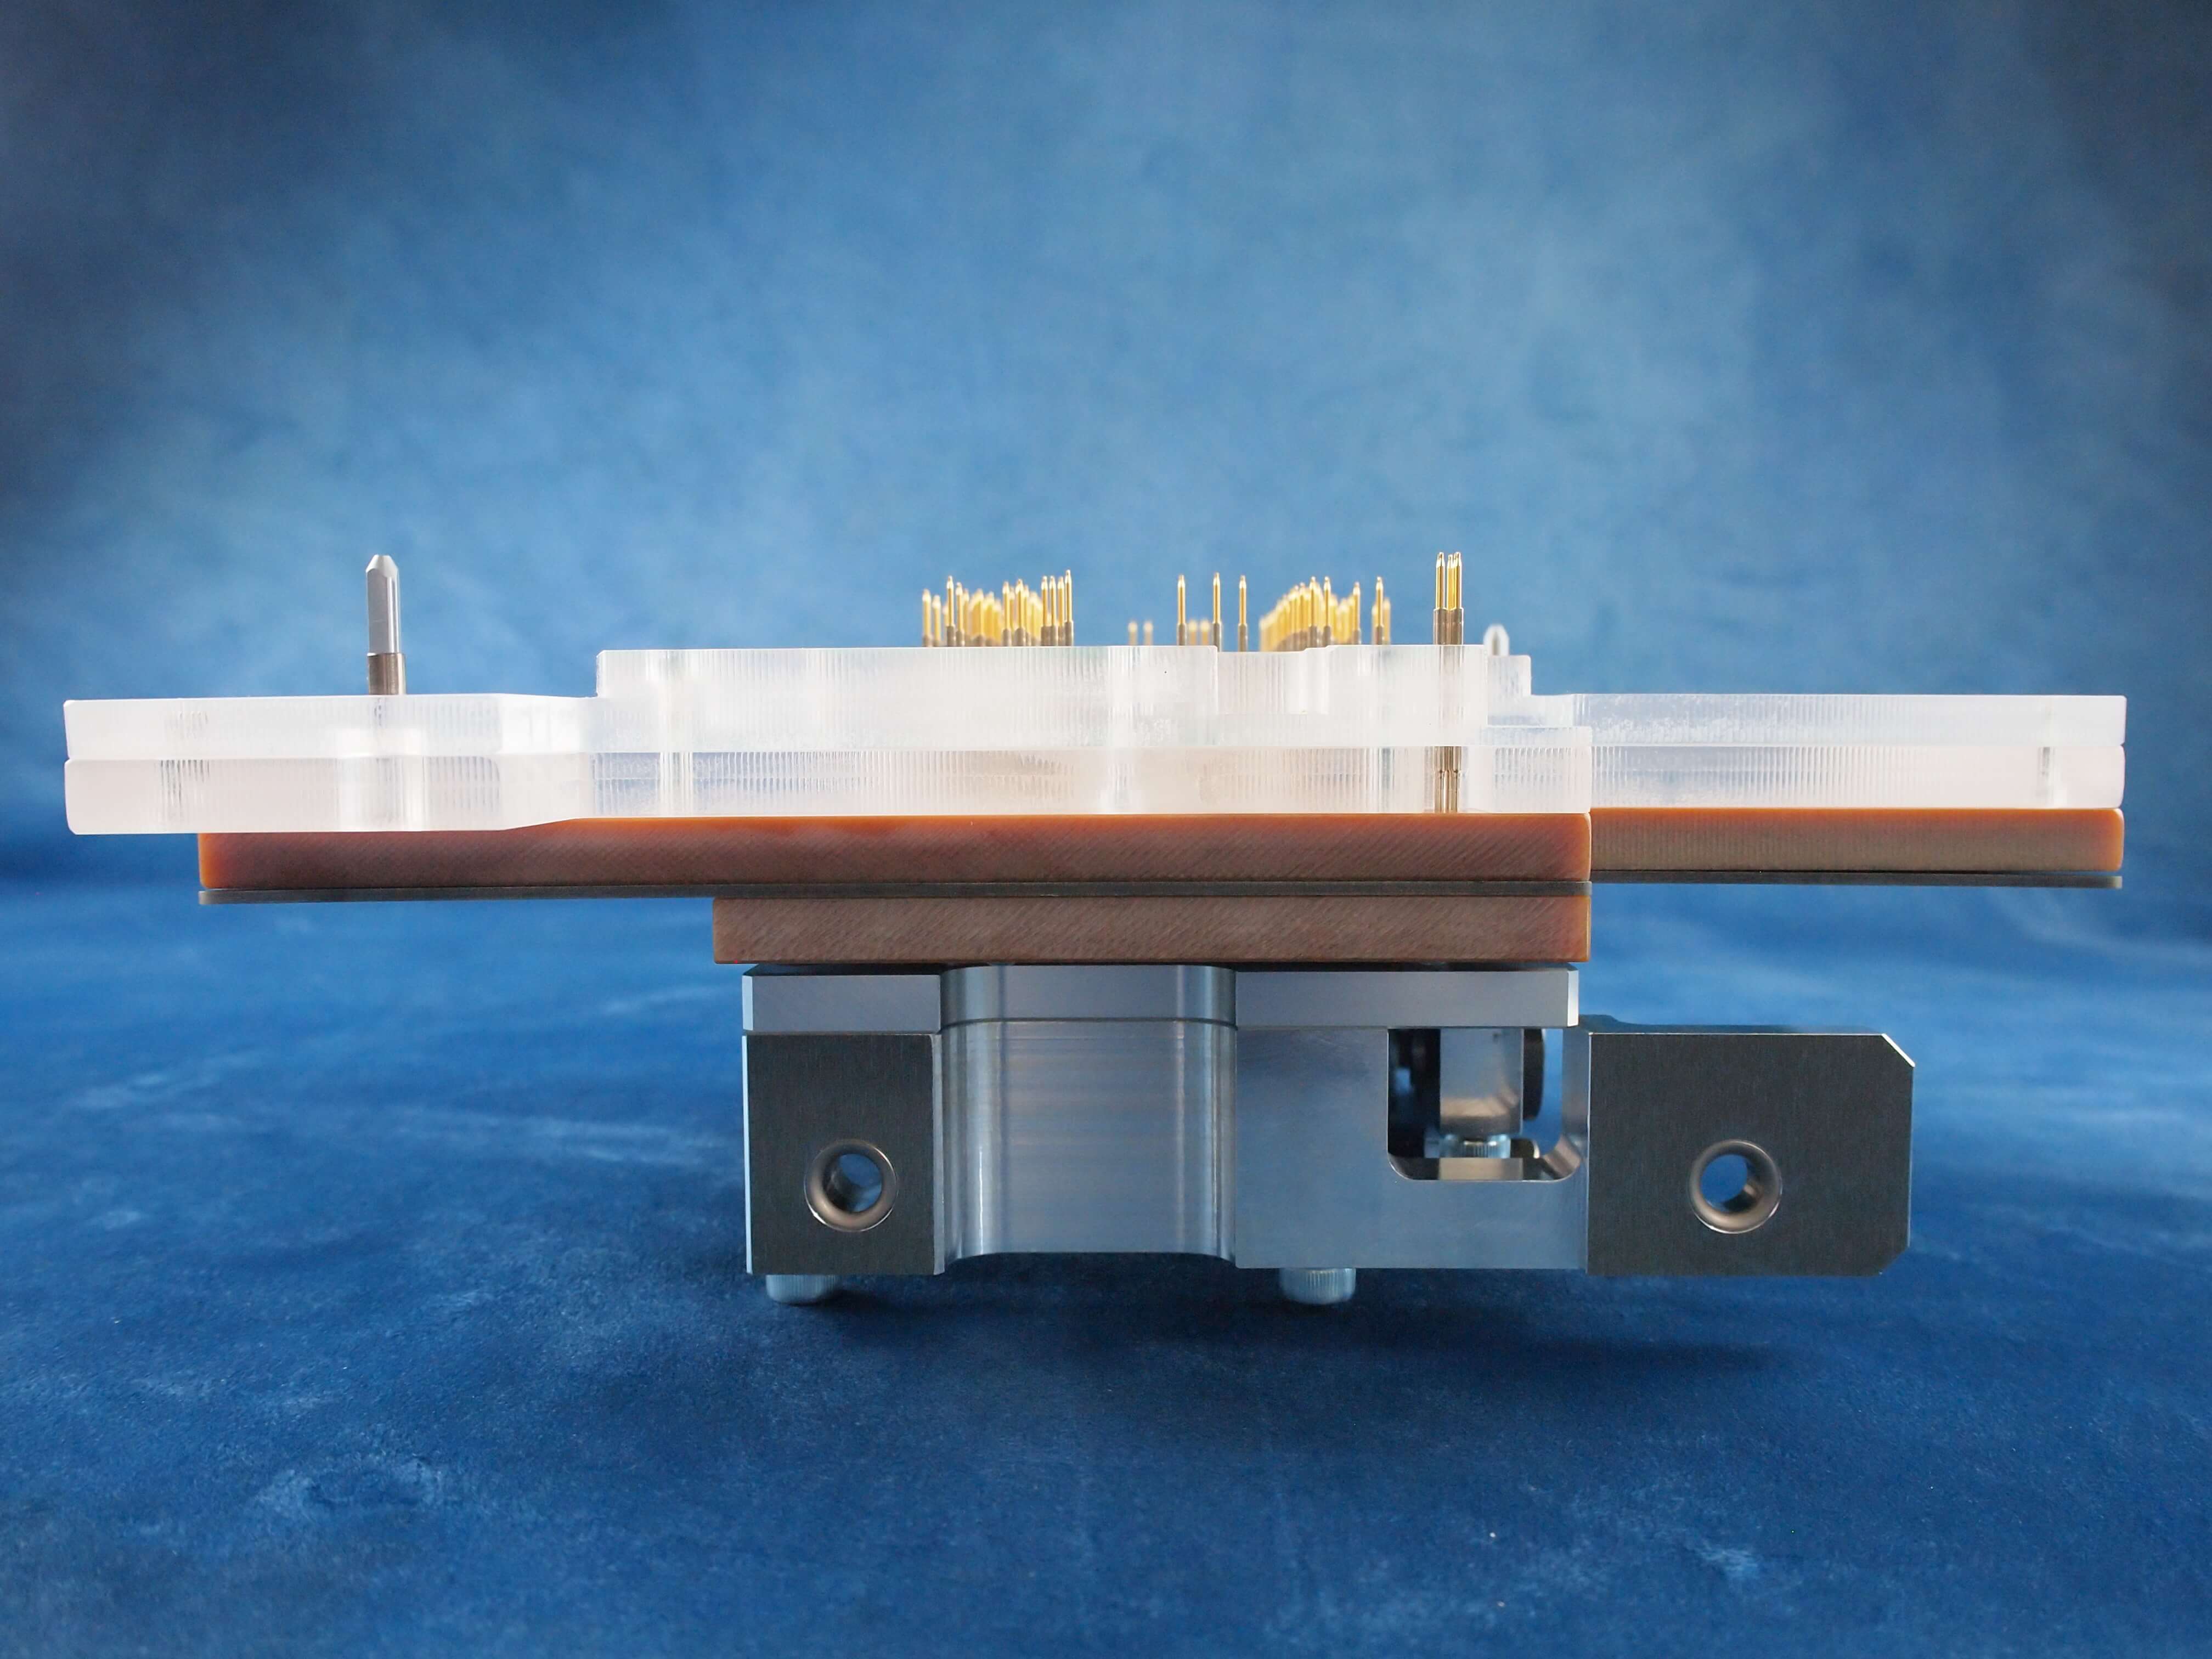
The floating plate of the probe unit (in the foreground of the photo) moves, and the wire probe tip contacts the terminal inside the board-to-board connector.

The wire probe has an exposed length of 0.3 mm to 0.4 mm. (This varies depending on the specifications.)

The wire probe that contacts the terminals inside the board-to-board connector generates a spring force when the tip is pushed and the green part deflects in a certain direction.

This wire probe unit is built into the jig for performing inspection.
(for mounted board inspection)


Application examples
Even connectors without dimensional drawings can be quantified using our vision measuring system (VMS).
Applicable industries: Mobile device and semiconductor component manufacturers


